Fresh Milled Flour Sourdough Starter Maintenance (The Easy Way)
Join me as I show you my very simple way to keep up with fresh milled sourdough starter maintenance. When I first started baking with sourdough, every guide made maintaining a starter seem like a full-time job. Daily feedings, exact measurements, discard schedules—it felt overwhelming.
Thankfully, I’ve learned that maintaining a healthy sourdough starter doesn’t have to be complicated.
This is the method I use for my fresh milled flour sourdough starter. I rarely measure, keep only a small amount of starter on hand, and store it in the refrigerator most of the time. It’s simple, flexible, and works beautifully for the way I bake.
If you’re looking for a low-maintenance sourdough routine, this is it.

This post contains affiliate links, which means I make a small commission at no extra cost to you. As an Amazon Associate I earn from qualifying purchases. Please read our Disclosure Policy.
Why I Keep My Fresh Milled Sourdough Starter Small
One of the biggest changes that simplified sourdough for me was keeping only a small amount of starter.
Instead of maintaining a huge jar and constantly discarding excess, I keep just enough starter to build whatever I need for my next recipe.
Benefits include:
- Less flour wasted
- Less discard
- Smaller jar to clean
- Easy to feed before baking
- Fresh starter every time
If I need more starter for a recipe, I simply feed it a larger amount the day before. Take it literally at it’s name – a starter. You only need enough to start your feeding for your next recipe. Many times I only have a spoonful of starter left, or even just scrapings, but that is plenty to feed and continue with my starter.
Standard Sourdough Maintenance Ratio
To maintain a starter, the standard feed is a 1:1:1 ratio.
For 50 grams of starter, you would add 50 grams of flour and 50 grams of water. I follow this standard, without weighing.

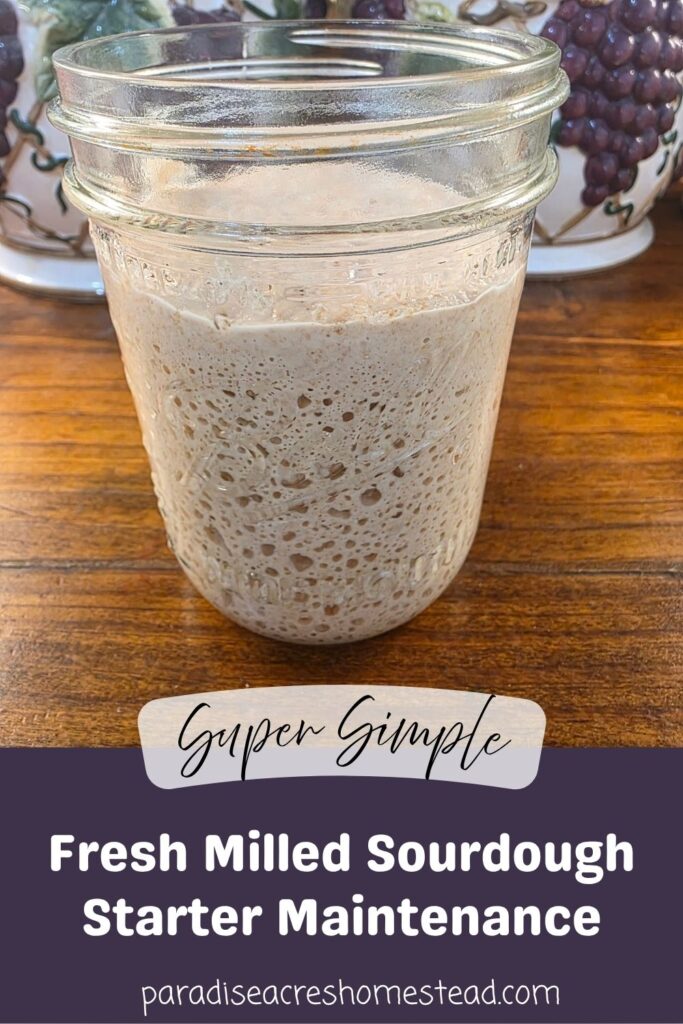
Equal amounts of starter and flour – Add water till muffin batter consistency
My Simple Feeding Method
I don’t weigh my starter.
Instead, I eyeball everything.
I simply add about the same volume of fresh milled flour as the amount of starter already in the jar.
For example:
- About 1/2″ starter in the jar
- About 1/2″ fresh milled flour
Then I add enough water until it reaches the consistency I like.
You can weigh for a while to get a better idea of what consistency you are looking for, but after a while it is so easy to just guess. You don’t need perfection here, just be sure to feed enough so your starter isn’t “hungry”.

Cover loosely and watch the bubbly magic happen.
The Consistency I Aim For
I prefer a slightly thicker starter.
I usually describe it as somewhere between thick pancake batter and muffin batter.
It should:
- Stir easily
- Slowly fall off the spoon
- Hold soft ridges for a moment before smoothing out
I don’t worry about making it exactly the same every time.
Equipment I Use
- Wide mouth jars
- Spurtle – sourdough stir tool
- Unbleached coffee filter
My Weekly Routine
Most of the time my starter lives in the refrigerator.
Here’s my typical routine:
The day before baking
Remove starter from refrigerator.
Feed it based on how much you will need, but at least equal amount of flour and starter. Cover loosely, I like to use a coffee filter and a rubber band.
Leave on the counter for about 4–12 hours until active and bubbly.
Baking day
Use the amount your recipe calls for.
Leave just a small amount behind in the jar.
Feed again. Close with an airtight lid.
Place back into the refrigerator until next time.
That’s it!
Do I Need To Feed It Every Week?
No.
If I’m traveling and I don’t bake for a week—or even longer—I simply leave it in the refrigerator.
When I’m ready to bake again, I pull it out and feed it.
Fresh milled flour starters are often quite resilient, and mine has done very well with this relaxed routine.
If it’s been several weeks, I may give it an extra feeding before baking just to wake it up.
What Flour Do I Feed My Starter?
I like feeding my starter freshly milled whole wheat flour.
You can use:
- Hard white wheat
- Hard red wheat
- Einkorn
- Khorasan (Kamut)
- Rye
- Or a blend
I often use whatever fresh milled flour I was baking with, except not soft white wheat.
How Do I Know It’s Ready?
A healthy starter should:
- Double in size
- Have lots of bubbles
- Smell pleasantly tangy
- Look airy throughout
Once it reaches that point, it’s ready to bake with.
Signs of a Hungry Starter
- Dark layer of liquid on top. This liquid is called hooch – simply pour off and feed generously.
- Runny consistency
- Overly sour smell
FAQ
Do I have to weigh my fresh milled sourdough starter?
No! Many bakers prefer weighing for consistency, but I’ve found that a starter is very forgiving, and eyeballing works perfectly well.
Can I leave my starter on the counter?
Yes.
If you bake daily, room-temperature storage works great. If left on the counter you need to feed it every 12-24 hours. Since I only bake every few days (or weekly), refrigeration makes maintenance much easier.
Should sourdough starter be kept airtight?
When on the counter I don’t cover it tightly, but you do want a loose cover to protect from bugs and dust. To refrigerate it I do cover it tightly.
How long before I bake do I need to get the starter out of the fridge?
I try to get it out at least 4 hours before baking to get it get to room temperature. But I am known to last minute decide to whip up a skillet cookie, scones, or granola, and I’ll add it straight from the fridge. I have even made sourdough bread using cold starter and it turned out just like normal!
Can I feed my starter with different fresh milled flours?
Absolutely. I frequently use different wheat varieties depending on what I’m baking.
Why is my starter thick?
That’s intentional.
I prefer a thicker starter because it seems to stay active longer, requires a little less frequent feeding, and is easy to work with.
What is the black layer of liquid on top of my starter?
That is called hooch. It simply means your starter is hungry. Either pour the liquid out or stir it in when you feed it.
Tips for Success
- Keep only a small amount of starter.
- Feed more when you need more.
- Don’t stress over exact measurements.
- Refrigerate between baking days.
- Watch your starter—not the clock.
- Freshly milled flour creates a very active starter, so don’t be surprised if it rises quickly.
Final Thoughts
Sourdough doesn’t have to be intimidating.
If you’ve been putting off sourdough because every guide seemed overly complicated, I hope this simple routine gives you the confidence to jump in.
I’ve maintained my fresh milled flour starter this way for years, and it’s become one of the easiest parts of my baking routine. Keep it simple, keep it fed, and let your starter work for you—not the other way around.
Find My Favorite Fresh Milled Sourdough Recipes:
- Sourdough Honey Almond Granola
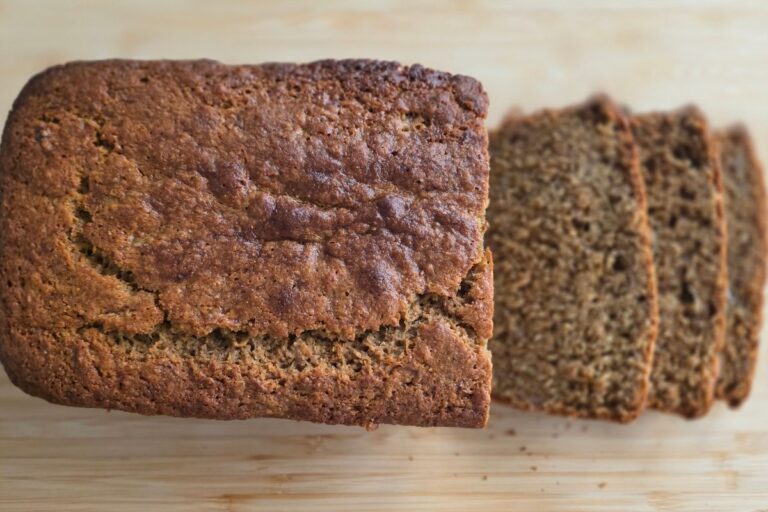
- Sourdough Fresh Milled Flour Banana Bread
- Espresso Chocolate Chip Sourdough Scones
- Fresh Milled Skillet Cookie with Sourdough
- Sourdough Peanut Butter Cookies
- Lemon Blueberry Muffins with Crumb Topping
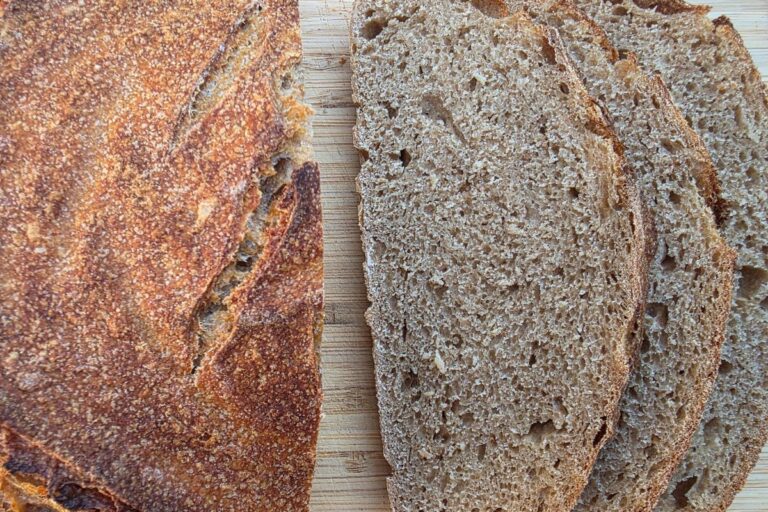
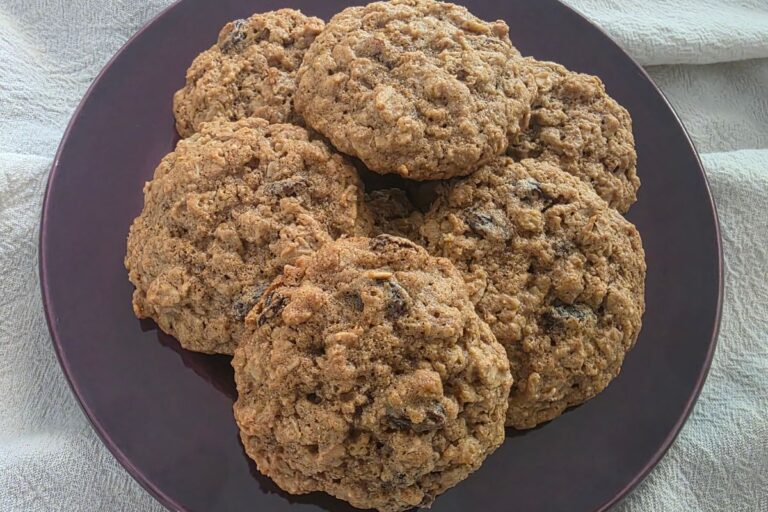
Did You Love this Starter Maintenance Method?
I’d love to hear how it turned out! If you enjoyed this recipe, please leave a ***** rating and a comment below. Your reviews not only make my day, but they also help other home bakers find and trust my recipes.
Save this recipe for later on Pinterest so it’s easy to find next time. While you’re there, follow Paradise Acres Homestead for more fresh milled flour recipes, sourdough baking, and from-scratch homestead favorites.



One Comment